Overview
The Cost Centre Maintenance module enables users to manage and streamline cost centre operations. It allows for defining, updating, and organising cost centres effectively.
Typical Users
Project Managers
Risk Factors
None
Function
Once opened you will view the following Cost Centre Maintenance screen:
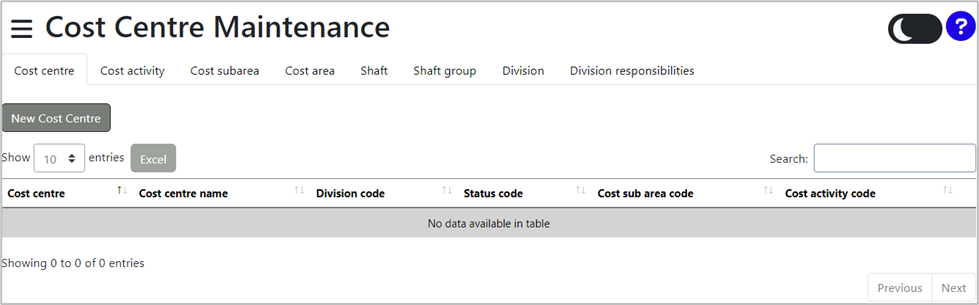
There are eight tabs available under the Cost Centre Maintenance application:
1.Cost Centre
2.Cost Activity
3.Cost Subarea
4.Cost Area
5.Shaft
6.Shaft Group
7.Division
8.Division Responsibilities
Under the Cost Centre tab, click the 'New Cost Centre' button to create a new cost centre. A new screen will be displayed:
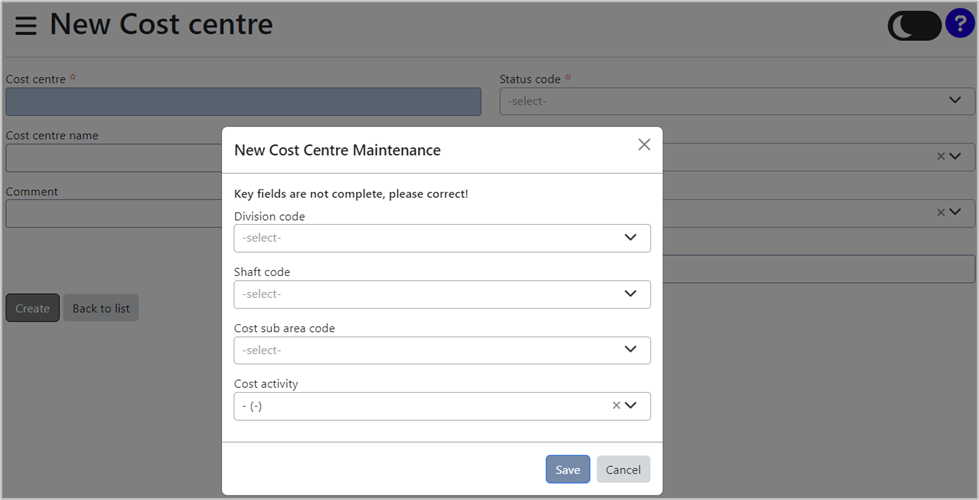
Select the Division Code, Shaft Code, Cost Sub Area Code and Cost activity via the drop-down menus ![]() .
.
Once the above fields have been completed, select the 'Save' button.
The following New Cost centre screen will be displayed, showing the information you entered on the previous screen. You can now add the Status Code (compulsory):
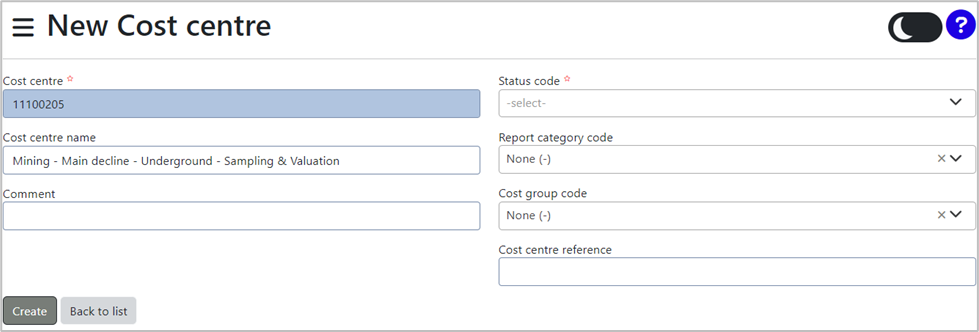
You can also select the Report Category Code and Cost Group Code from the drop-down menus. Additionally, you can add a comment and a cost centre reference.
Select the 'Create' button to create a new cost centre.
A pop-up message will be displayed to confirm that the cost centre has been created successfully.:

You will be returned to the Cost Centre tab. The list of call centres can be exported into an MS Excel file, by selecting the Excel button.
You will be returned to the Cost Centre tab. To export the list of cost centres to an MS Excel file, select the 'Excel' button.
Under the Cost Activity tab, you can view the list of cost activities and add new ones. The following screen will be displayed:
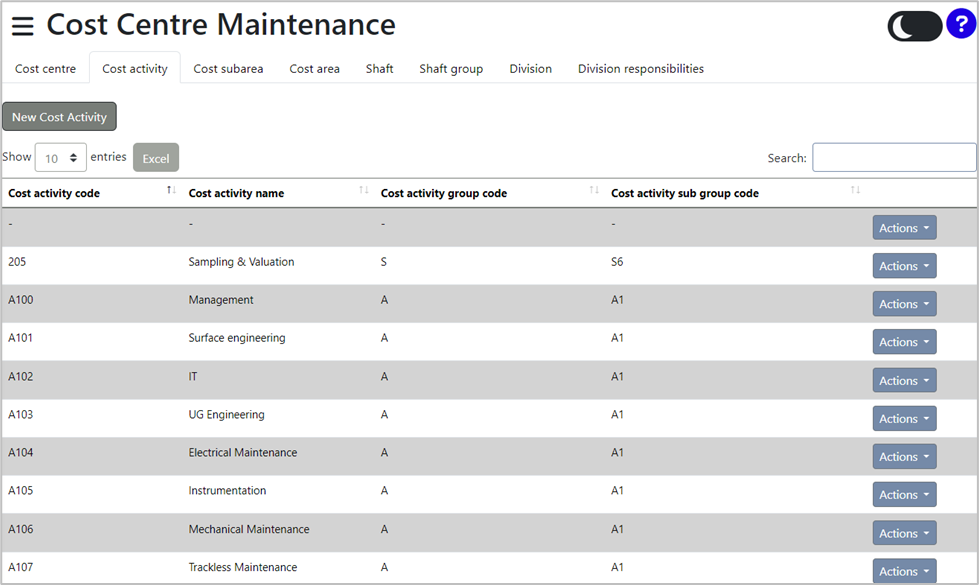
Cost activities can be edited, deleted, or viewed by selecting the 'Actions' button next to the respective cost activity.
To add a new cost activity, select the 'New Cost Activity' button at the top of the page. The following screen will be displayed:
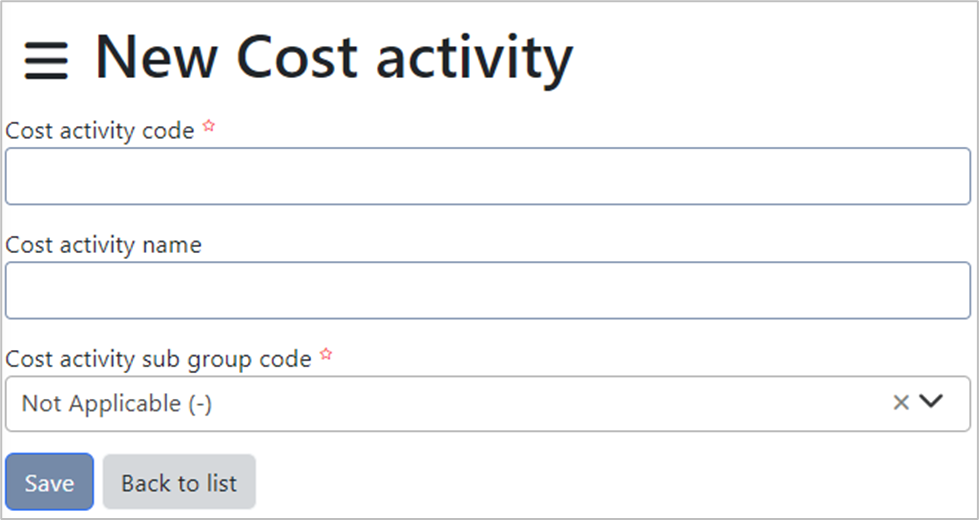
Complete the fields. Fields marked with an asterisk (*) are compulsory.
Once the above fields have been completed, select the 'Save' button.
A pop-up message will be displayed to confirm that the cost activity has been saved successfully:

You will be returned to the Cost Activity tab. To export the list of cost activities to an MS Excel file, select the 'Excel' button.
Under the Cost Subarea tab, you can view the list of cost subareas and add new ones. The following Cost Centre Maintenance screen will be displayed:
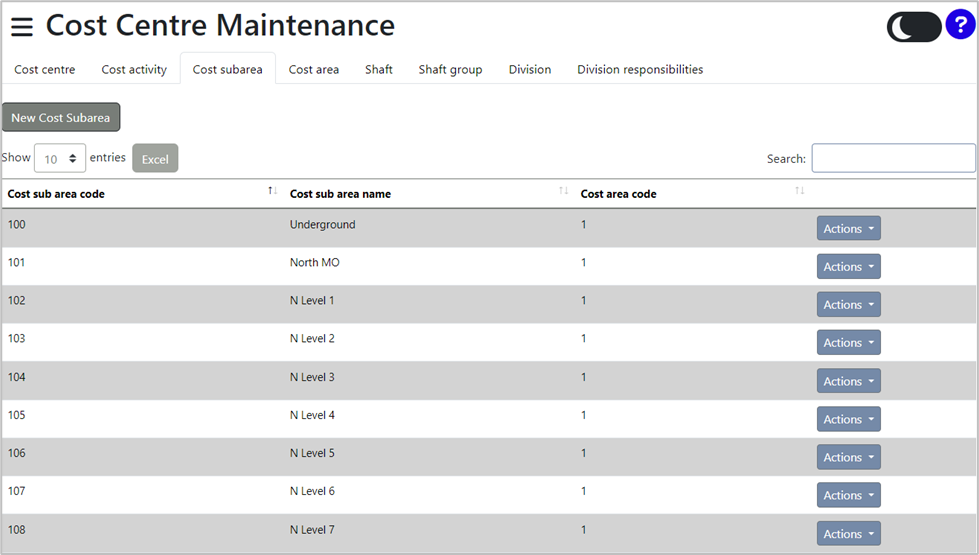
Cost subareas can be edited, deleted, or viewed by selecting the 'Actions' button next to the respective cost subarea.
To add a new cost subarea, select the 'New Cost Subarea' button at the top of the page. The following screen will be displayed:
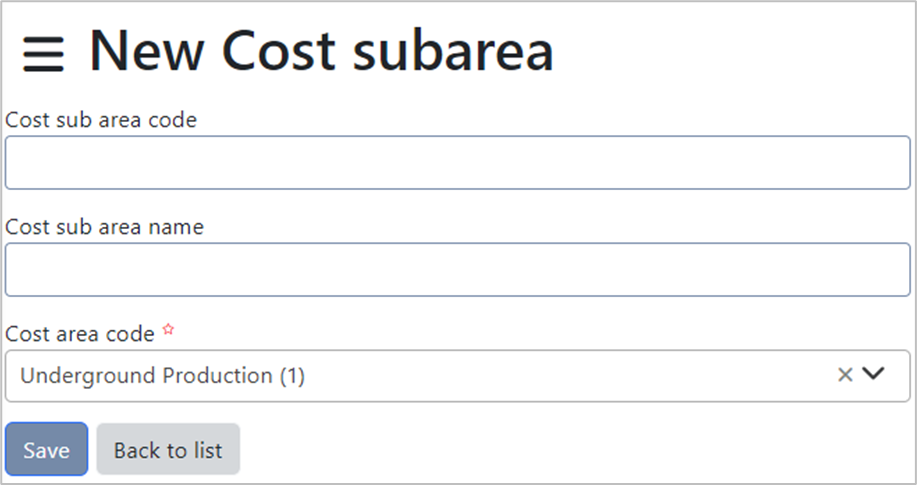
Complete the fields. Fields marked with an asterisk (*) are compulsory.
Once the above fields have been completed, select the 'Save' button.
A pop-up message will be displayed to confirm that the cost subarea has been saved successfully:

You will be returned to the Cost Subarea tab. To export the list of cost subareas to an MS Excel file, select the 'Excel' button.
Under the Cost Area tab, you can view the list of cost areas and add new ones. The following screen will be displayed:
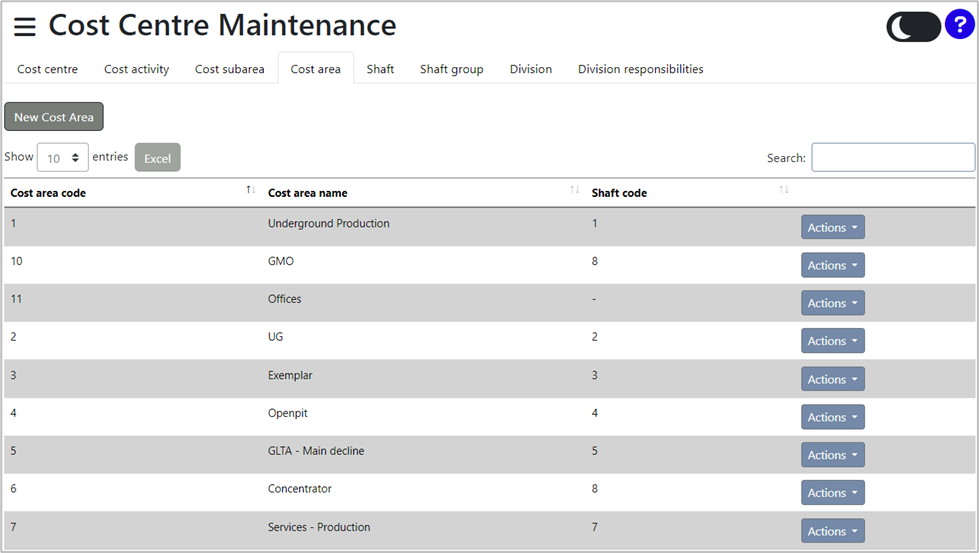
Cost areas can be edited, deleted, or viewed by selecting the 'Actions' button next to the respective cost area.
To add a new cost area, select the 'New Cost Area' button at the top of the page. The following New Cost area screen will be displayed:
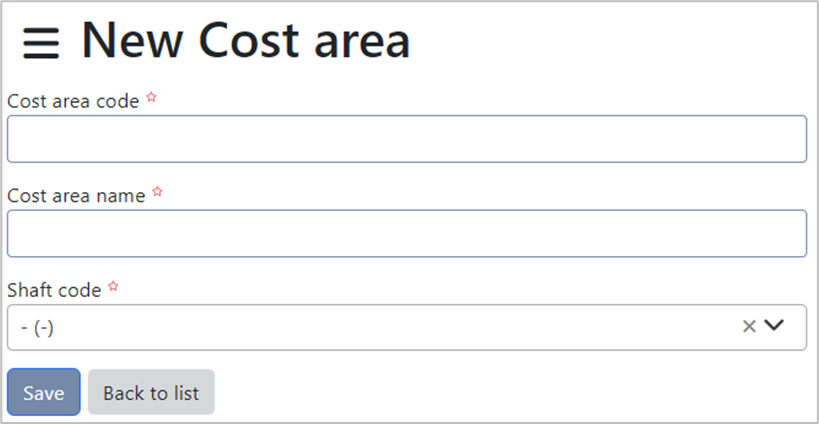
Complete the fields. Fields marked with an asterisk (*) are compulsory.
Once the above fields have been completed, select the 'Save' button.
A pop-up message will be displayed to confirm that the cost area has been saved successfully:

You will be returned to the Cost Area tab. To export the list of cost areas to an MS Excel file, select the 'Excel' button.
Under the Shaft tab, you can view the list of shafts and add new ones. The following Cost Centre Maintenance screen will be displayed:
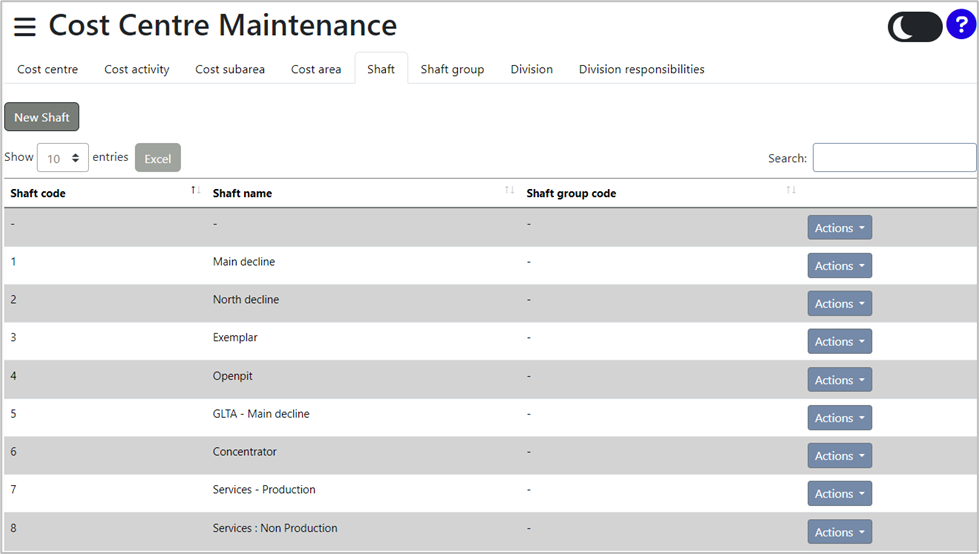
Shafts can be edited, deleted, or viewed by selecting the 'Actions' button next to the respective shaft.
To add a new shaft, select the 'New Shaft' button at the top of the page. The following New Shaft screen will be displayed:
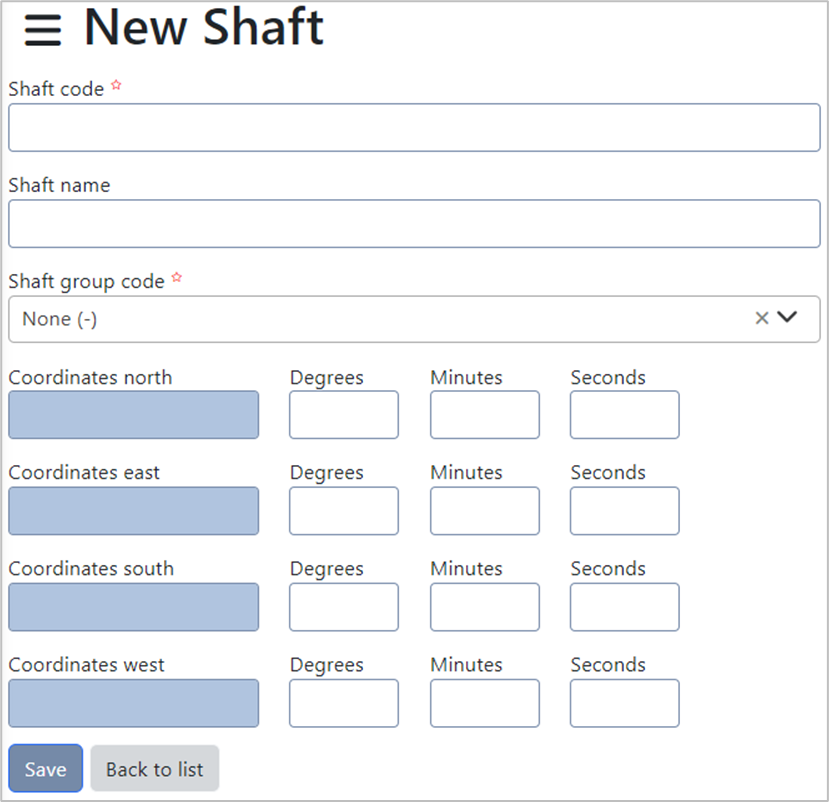
Complete the fields. Fields marked with an asterisk (*) are compulsory.
Once the above fields have been completed, select the 'Save' button.
A pop-up message will be displayed to confirm that the shaft has been saved successfully:

You will be returned to the Shaft tab. To export the list of shafts to an MS Excel file, select the 'Excel' button.
Under the Shaft Group tab, you can view the list of shaft groups and add new ones. The following Cost Centre Maintenance screen will be displayed:
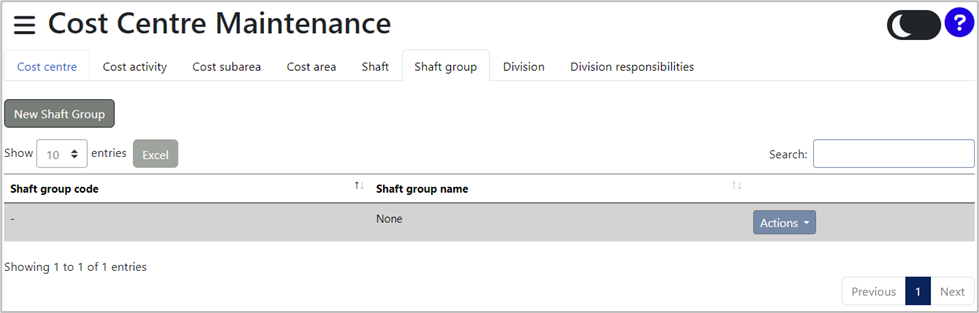
Shaft groups can be edited, deleted, or viewed by selecting the 'Actions' button next to the respective shaft.
To add a new shaft group, select the 'New Shaft Group' button at the top of the page. The following New Shaft group screen will be displayed:
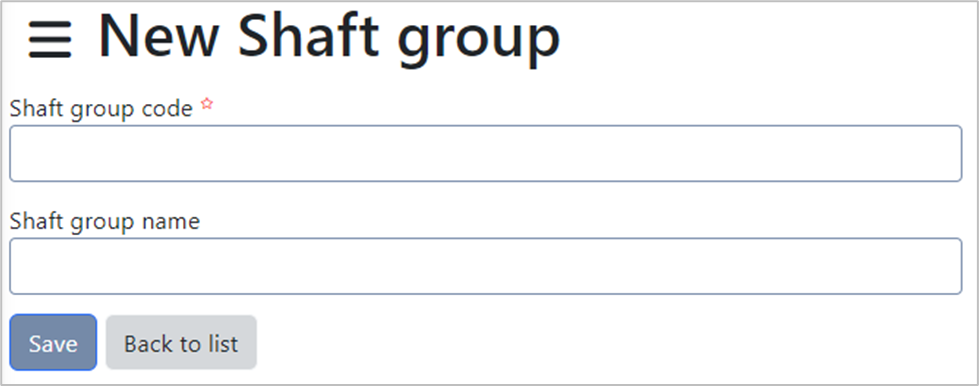
Complete the fields. Fields marked with an asterisk (*) are compulsory.
Once the above fields have been completed, select the 'Save' button.
A pop-up message will be displayed to confirm that the shaft group has been saved successfully:

You will be returned to the Shaft Group tab. To export the list of shaft groups to an MS Excel file, select the 'Excel' button.
Under the Division tab, you can view the list of divisions and add new ones. The following screen will be displayed:
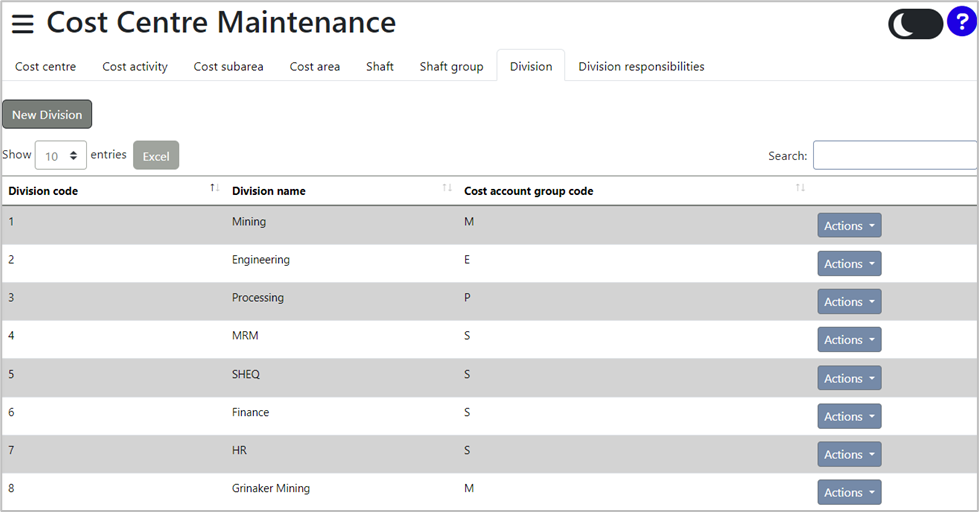
Divisions can be edited, deleted, or viewed by selecting the 'Actions' button next to the respective division.
To add a new division, select the 'New Division' button at the top of the page. The following New Division screen will be displayed:
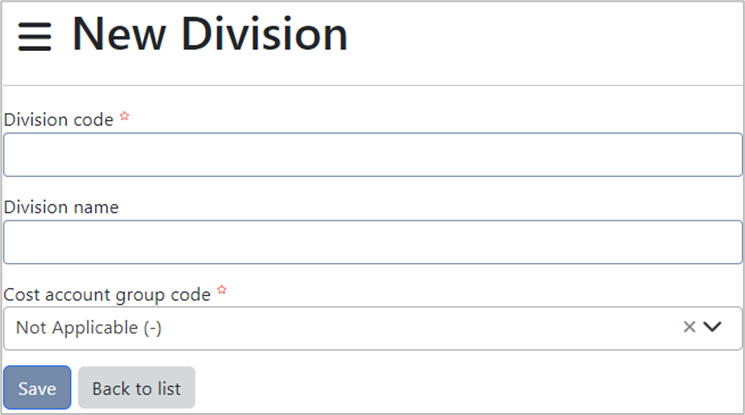
Complete the fields. Fields marked with an asterisk (*) are compulsory.
Once the above fields have been completed, select the 'Save' button.
A pop-up message will be displayed to confirm that the division has been saved successfully:

You will be returned to the Division tab. To export the list of divisions to an MS Excel file, select the 'Excel' button.
Under the Division Responsibilities tab, you can view the list of division responsibilities and add new ones. The following screen will be displayed:
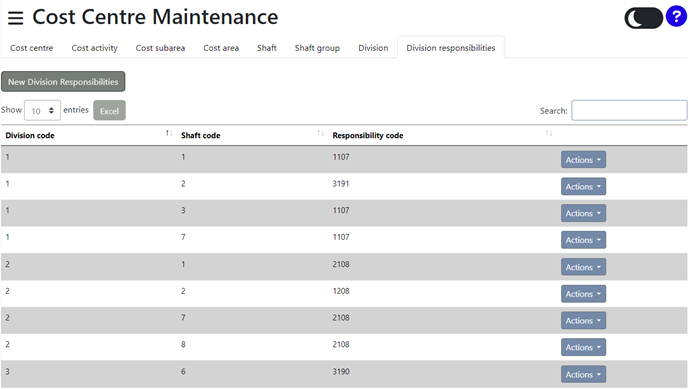
Division responsibilities can be edited, deleted, or viewed by selecting the 'Actions' button next to the respective division responsibility.
To add a new division responsibility, select the 'New Division Responsibilities' button at the top of the page. The following New Division responsibilities screen will be displayed:
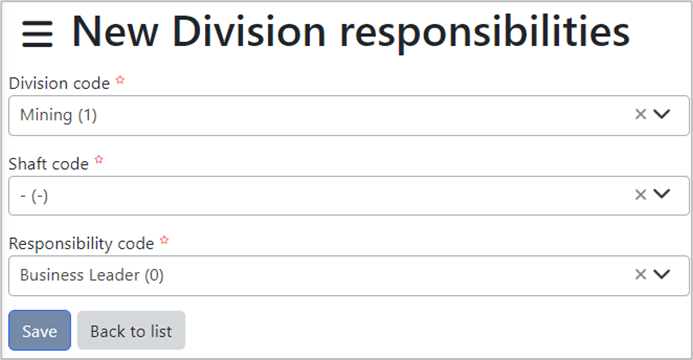
Complete the fields. Fields marked with an asterisk (*) are compulsory.
Once the above fields have been completed, select the 'Save' button.
A pop-up message will be displayed to confirm that the division responsibility has been saved successfully:

You will be returned to the Division Responsibility tab. To export the list of division responsibilities to an MS Excel file, select the 'Excel' button.