Overview
The Systems Master web application is designed to centralise and manage key configuration data that supports various functions across DeltaERP5. This module allows users to efficiently add, update, and manage critical system settings. Within the Systems Master web application, you can manage:
•Countries: Define and maintain country details for use across different system processes.
•Country Options: Customise additional settings and options for each country.
•Hauliers: Add and manage logistics providers for transportation and delivery purposes.
•Markup Codes: Configure and apply markup codes for pricing and cost calculations.
•Provinces: Manage province information linked to regions and countries.
•Reconcilers: Define and manage personnel or entities responsible for reconciliation processes.
•Region Groups: Group regions for easier categorisation and reporting.
•Regions: Maintain region-specific data used across various business units.
•Report Groups: Organise reports into predefined groups for streamlined access and management.
•Terms: Define standard terms and conditions for transactions or agreements.
•Transaction Types: Manage different types of transactions to ensure accurate tracking and reporting.
Navigation Path
System Management → System Masters
Function
Once opened you will view the following System Masters screen:

Use the search function at the top of the page to quickly find information related to System Masters.
COUNTRIES:
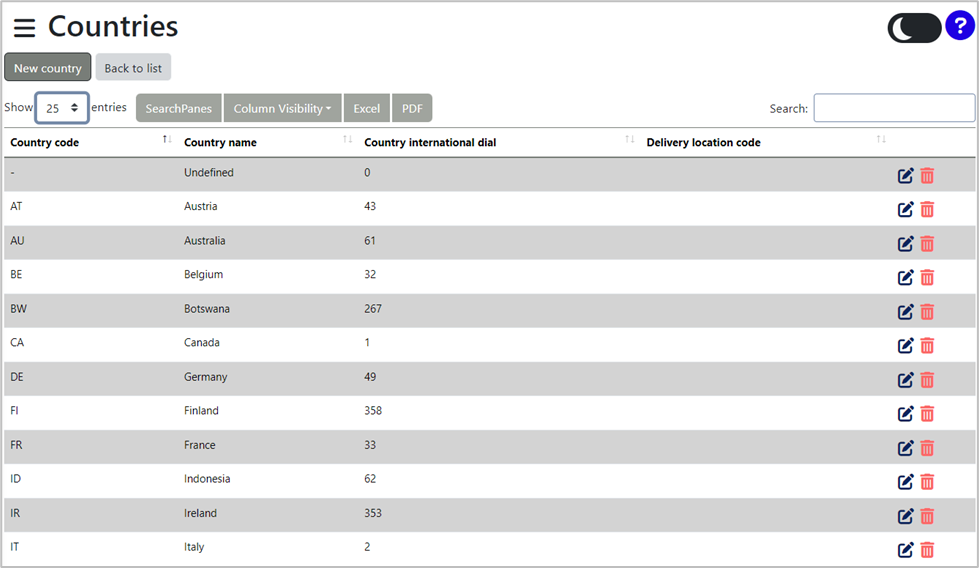
To add countries, click the 'Countries' button. A Countries screen will be displayed:
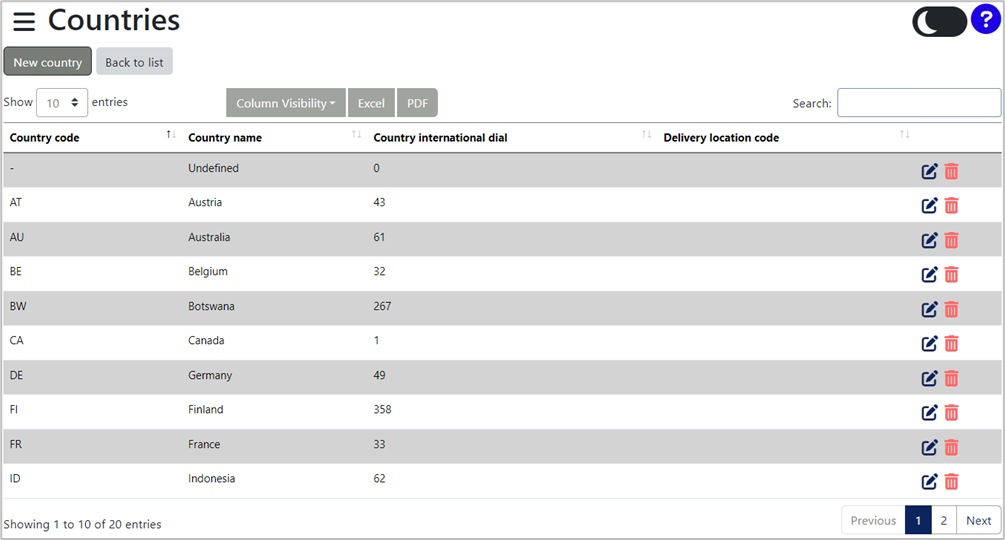
All uploaded countries will be displayed in the grid. You can delete a country by selecting the ![]() icon, or edit it by clicking the
icon, or edit it by clicking the ![]() icon.
icon.
The grid displays 10 countries per page by default. You can adjust this number using the up and down arrows next to “Show”, with options for 10, 25, 50, or 100 entries per page.

Navigate to the next page by selecting the desired page number or by clicking the Next button in the bottom right corner.

The search bar in the top right corner can be used to search for specific countries.

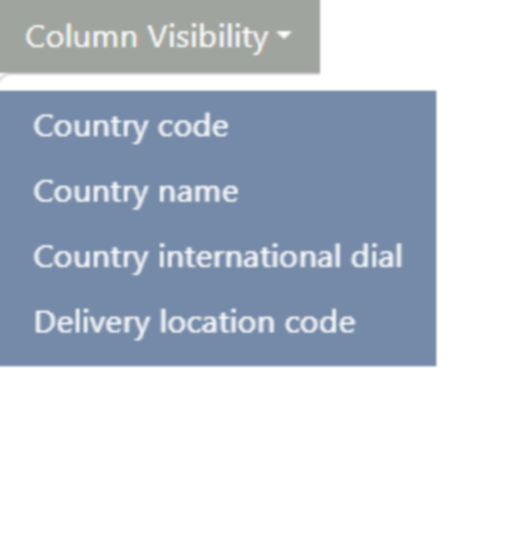
You can customise the visible fields in the grid by clicking the 'Column Visibility' button and selecting which fields to show or hide. Selection include country code, country name, country international dial, and delivery location code.
The list of countries can be exported to MS Excel or PDF format by clicking the corresponding button.
To add a new country to the system, click the 'New country' button. A new country screen will be displayed:
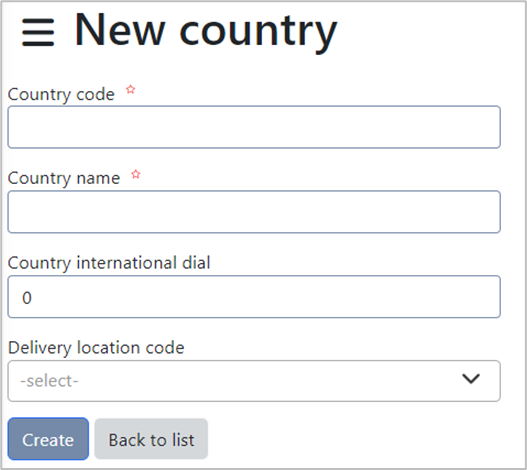
Complete the fields. Fields marked with an asterisk (*) are compulsory.
Complete the Country Code and Country Name fields manually. Enter the Country International Dial manually, or adjust it using the up and down arrows. Select the Delivery Location Code from the dropdown menu:
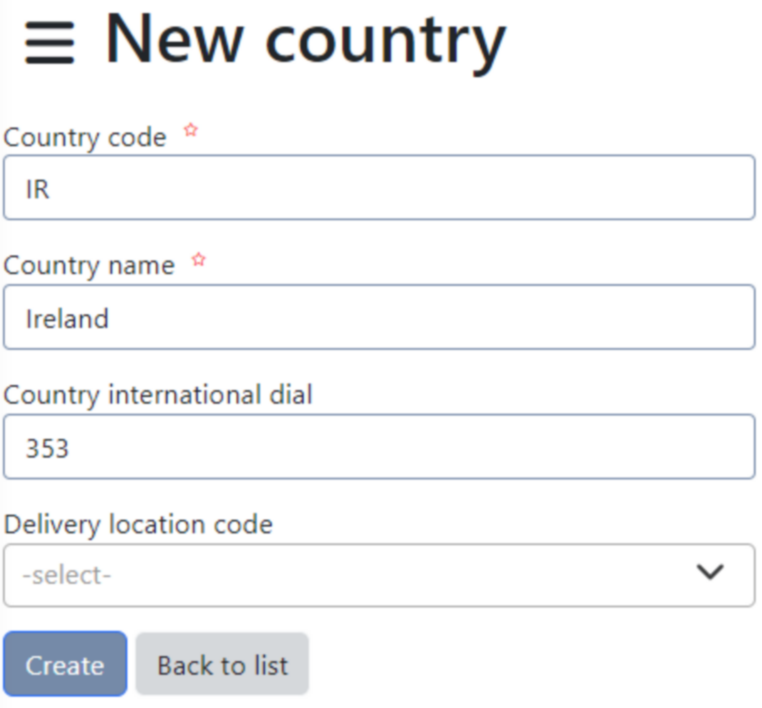
Once the fields have been completed, click the 'Create' button. A pop-up message will be displayed, confirming that the country has been saved successfully.

You will be returned to the Countries page, where the newly added country will now be displayed in the Countries grid.
Click the 'Back to list' button to return to the Systems Masters screen.
COUNTRY OPTIONS:
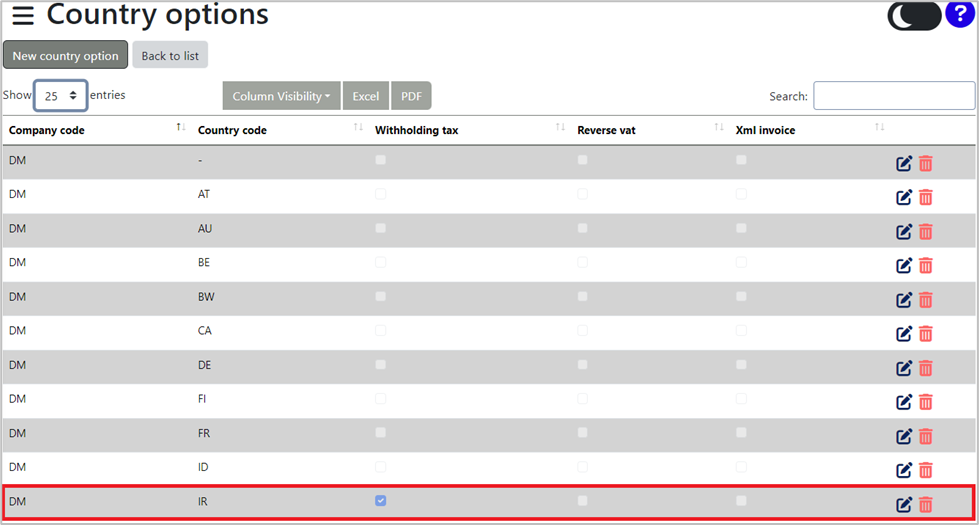
To add country options, click the 'Country options' button. A new screen will be displayed:
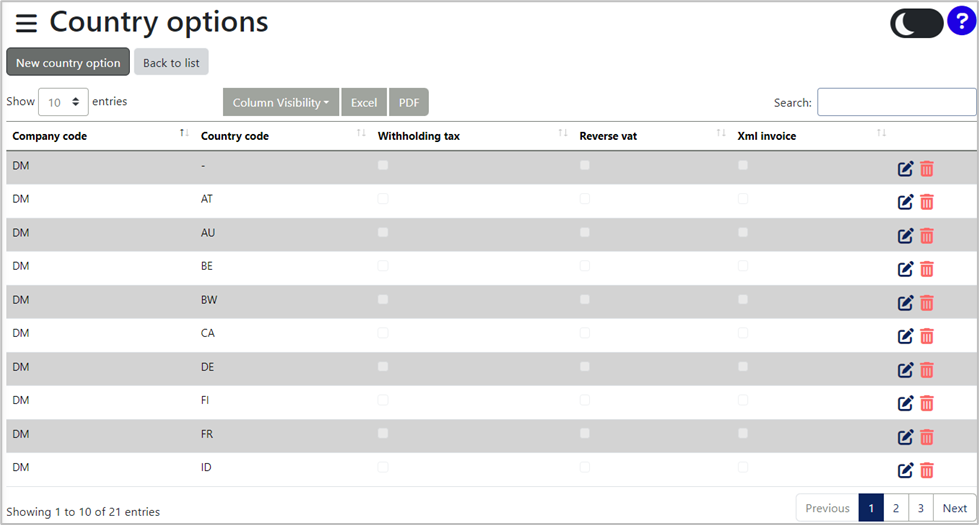
All uploaded country options will be displayed in the grid. You can delete a country option by selecting the ![]() icon, or edit it by clicking the
icon, or edit it by clicking the ![]() icon.
icon.
The list of country options can be exported to MS Excel or PDF format by clicking the corresponding button.
To add a new country option to the system, click the 'New country' button. A new screen will be displayed:
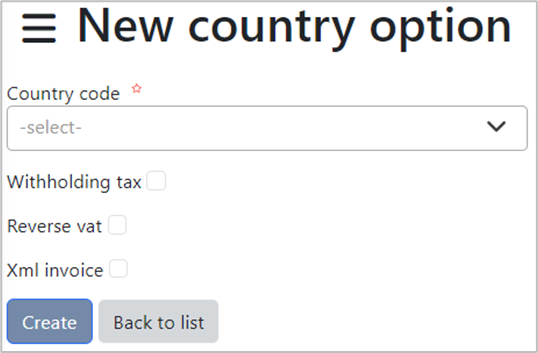
Complete the fields. Fields marked with an asterisk (*) are compulsory.
Select the Country Code from the dropdown menu. Click the checkboxes next to Withholding Tax, Reverse VAT, and/or XML Invoice if applicable.
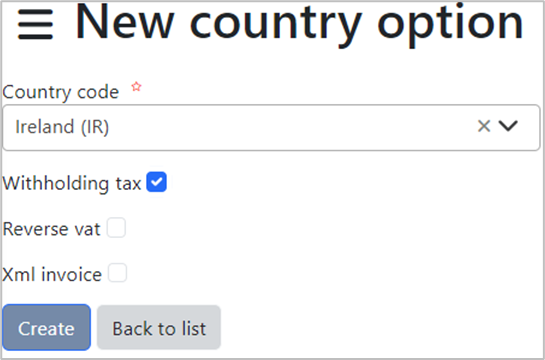
Once the fields have been completed, click the 'Create' button. A pop-up message will be displayed, confirming that the country option has been saved successfully.

You will be returned to the Country Options page, where the newly added country option will now be displayed in the Country Options grid.
Click the 'Back to list' button to return to the Systems Masters screen.
HAULIERS:
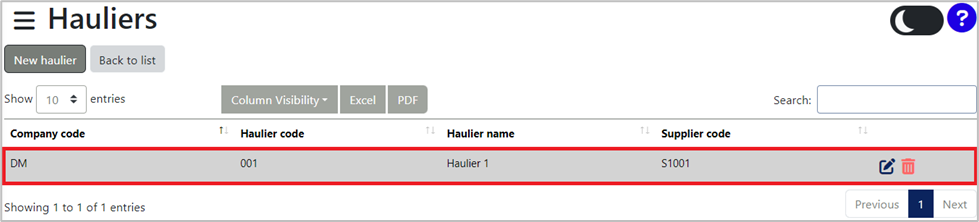
To add hauliers, click the 'Hauliers' button. A new screen will be displayed:
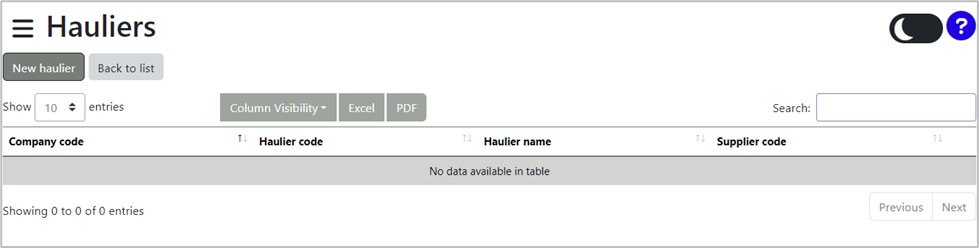
All hauliers options will be displayed in the grid. You can delete a haulier by selecting the ![]() icon, or edit it by clicking the
icon, or edit it by clicking the ![]() icon.
icon.
The list of hauliers can be exported to MS Excel or PDF format by clicking the corresponding button.
To add a new haulier to the system, click the 'New haulier' button. A new haulier screen will be displayed:
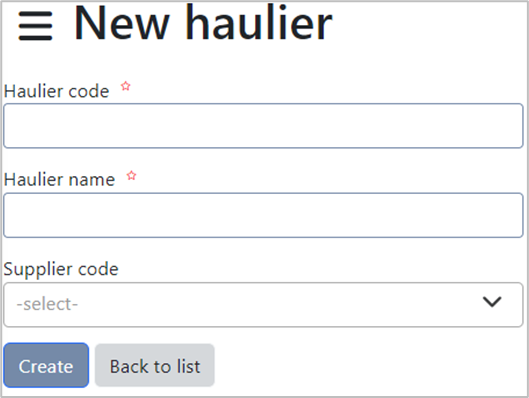
Complete the fields. Fields marked with an asterisk (*) are compulsory.
Complete the Haulier Code and Haulier Name fields manually. Select the Supplier Code from the dropdown menu:
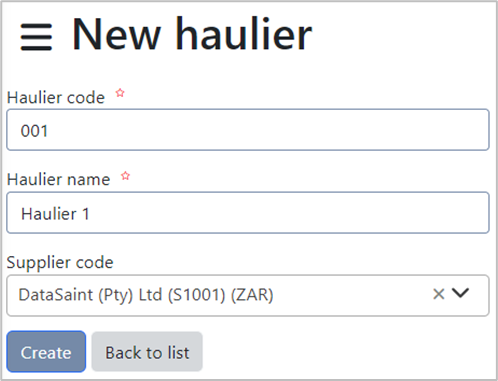
Once the fields have been completed, click the 'Create' button. A pop-up message will be displayed, confirming that the haulier has been saved successfully.

You will be returned to the Hauliers page, where the newly added haulier will now be displayed in the Haulier grid.
Click the 'Back to list' button to return to the Systems Masters screen.
MARKUP CODES:
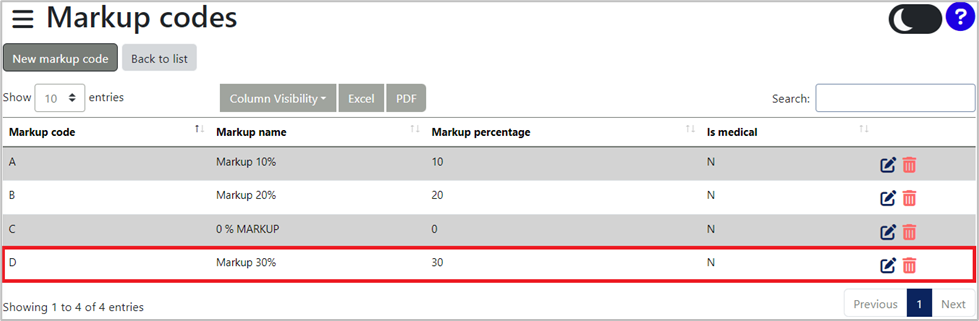
To add Markup Codes, click the 'Markup codes' button. A new markup codes screen will be displayed:
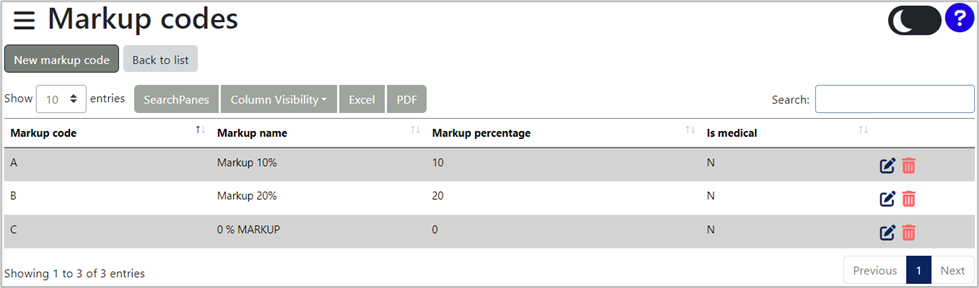
All Markup Code options will be displayed in the grid. You can delete a markup code by selecting the ![]() icon, or edit it by clicking the
icon, or edit it by clicking the ![]() icon.
icon.
The list of markup codes can be exported to MS Excel or PDF format by clicking the corresponding button.
To add a new markup code to the system, click the 'New markup code' button. A new markup code screen will be displayed:
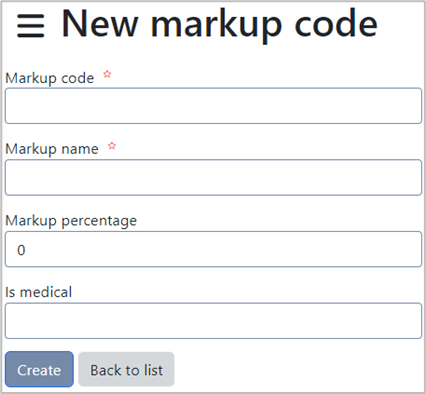
Complete the fields. Fields marked with an asterisk (*) are compulsory.
Complete the Markup Code, Markup Name and Is Medical fields manually. Enter Markup Percentage manually, or adjust it using the up and down arrows.
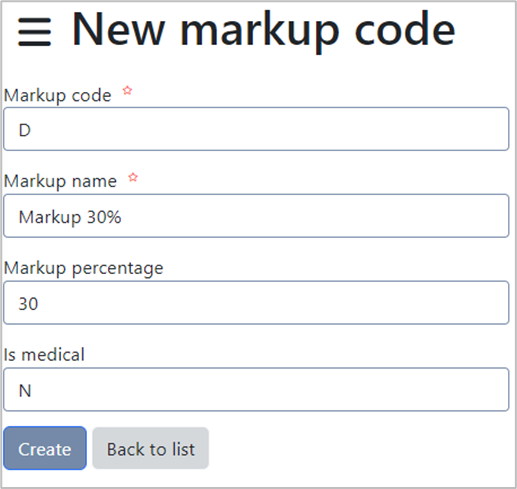
Once the fields have been completed, click the 'Create' button. A pop-up message will be displayed, confirming that the markup code has been saved successfully.

You will be returned to the Markup Codes page, where the newly added markup code will now be displayed in the Markup Codes grid.
Click the 'Back to list' button to return to the Systems Masters screen.
PROVINCES:
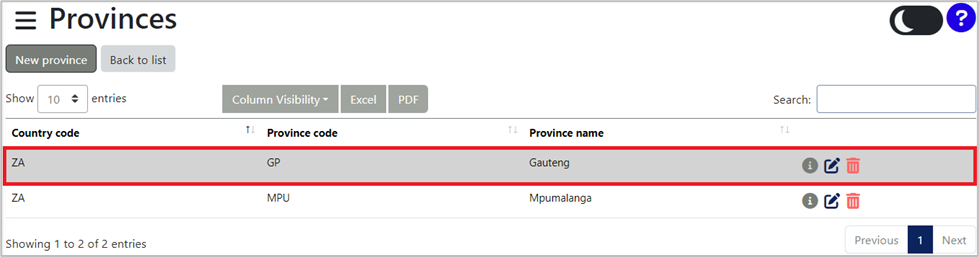
To add Provinces, click the 'Provinces' button. A new screen will be displayed:
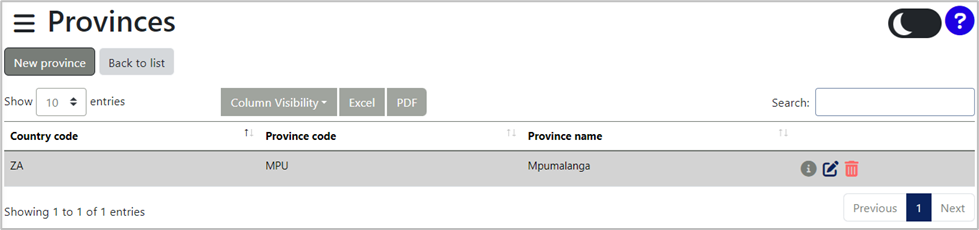
All Provinces will be displayed in the grid. You can delete a province by selecting the ![]() icon, or edit it by clicking the
icon, or edit it by clicking the ![]() icon.
icon.
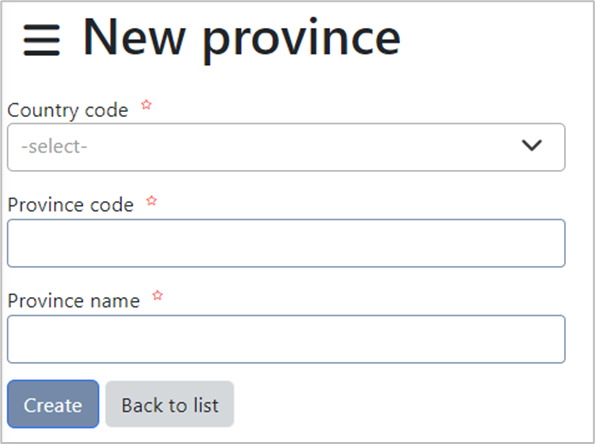
To add a new province to the system, click the 'New province' button. A new province screen will be displayed:
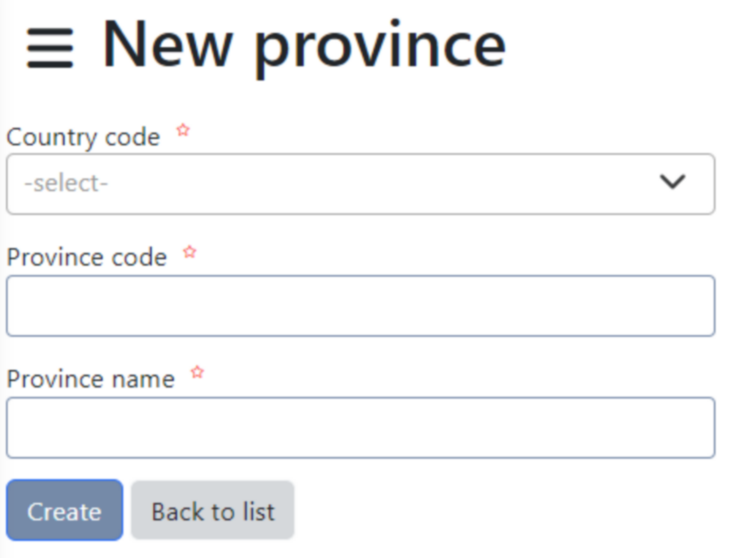
Complete the fields. Fields marked with an asterisk (*) are compulsory.
Select the Country Code from the dropdown menu. Complete the Province Code and Province Name fields manually.
Once the fields have been completed, click the 'Create' button. A pop-up message will be displayd, confirming that the markup code has been saved successfully.

You will be returned to the Provinces page, where the newly added province will now be displayed in the Provinces grid.
Click the 'Back to list' button to return to the Systems Masters screen.
RECONCILERS:
To add Reconcilers, click the 'Reconcilers' button. A new Reconcilers screen will be displayed:
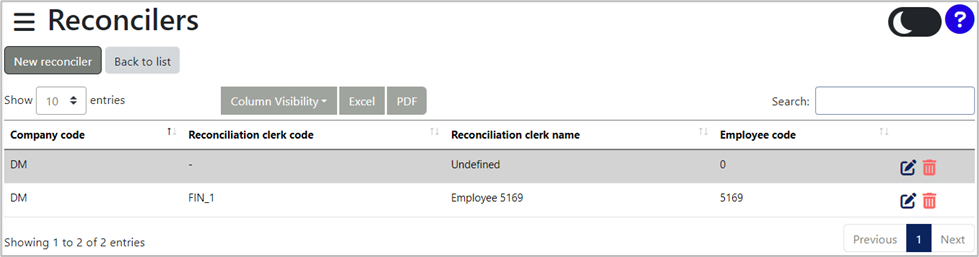
All Reconcilers will be displayed in the grid. You can delete a reconciler by selecting the ![]() icon, or edit it by clicking the
icon, or edit it by clicking the ![]() icon.
icon.
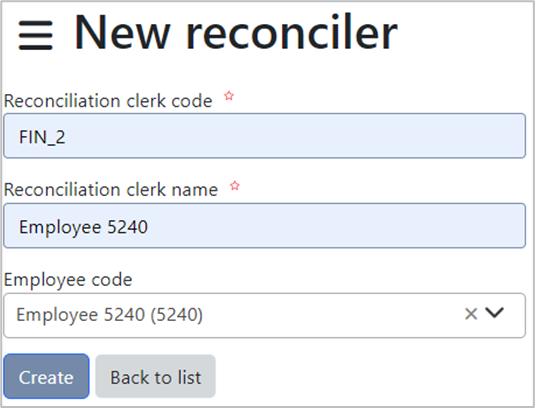
To add a new reconciler to the system, click the 'New reconciler' button. A new reconciler screen will be displayed:

Complete the fields. Fields marked with an asterisk (*) are compulsory.
Complete the Reconciliation Clerk Code and Reconciliation Clerk Name fields manually. Select the Employee Code from the dropdown menu.
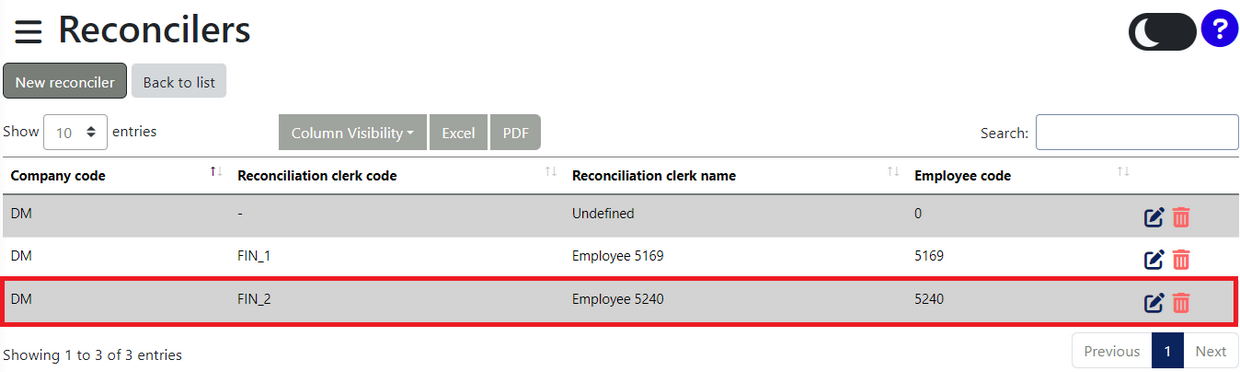
Once the fields have been completed, click the 'Create' button. A pop-up message will be displayed, confirming that the markup code has been saved successfully.

You will be returned to the Reconcilers page, where the newly added reconciler will now be displayed in the Reconcilers grid.
Click the ![]() button to return to the Systems Masters screen.
button to return to the Systems Masters screen.
REGION GROUPS:
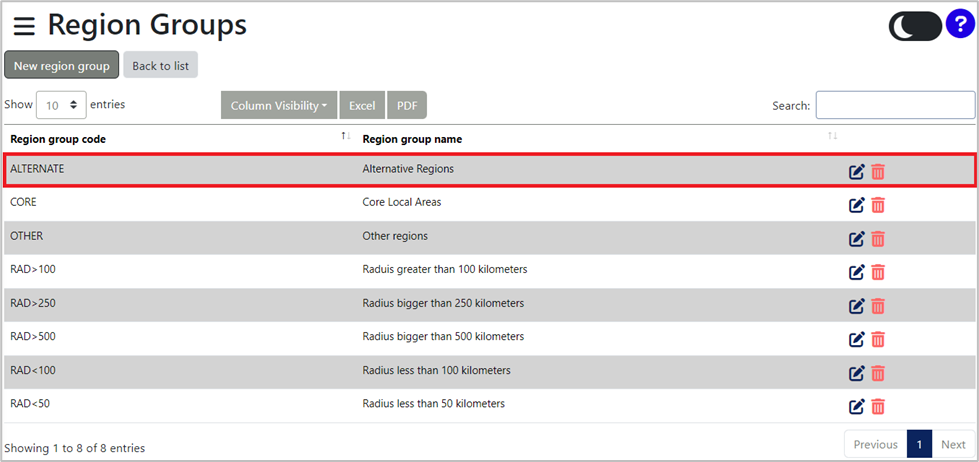
To add Region Groups, click the 'Region Groups' button. A new region group screen will be displayed:
All Region Groups will be displayed in the grid. You can delete a region group by selecting the ![]() icon, or edit it by clicking the
icon, or edit it by clicking the ![]() icon.
icon.
To add a new region group to the system, click the 'New region group' button. A new region group screen will be displayed:
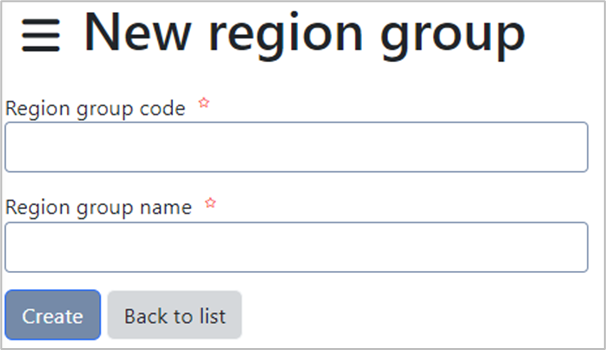
Complete the fields. Fields marked with an asterisk (*) are compulsory.
Complete the Region Group Code and Region Group Name fields manually.
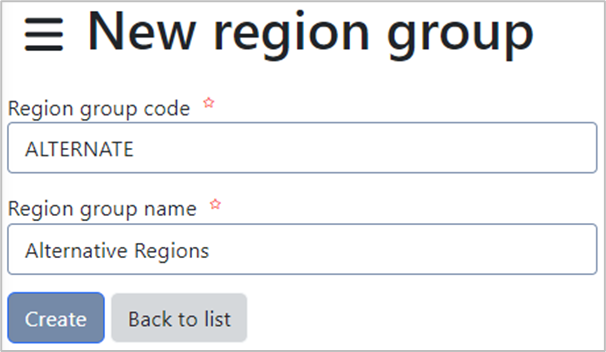
Once the fields have been completed, click the 'Create' button. A pop-up message will be displayed, confirming that the region group has been saved successfully.

You will be returned to the Region Groups page, where the newly added region group will now be displayed in the Region Groups grid.
Click the 'Back to list' button to return to the Systems Masters screen.
REGIONS:
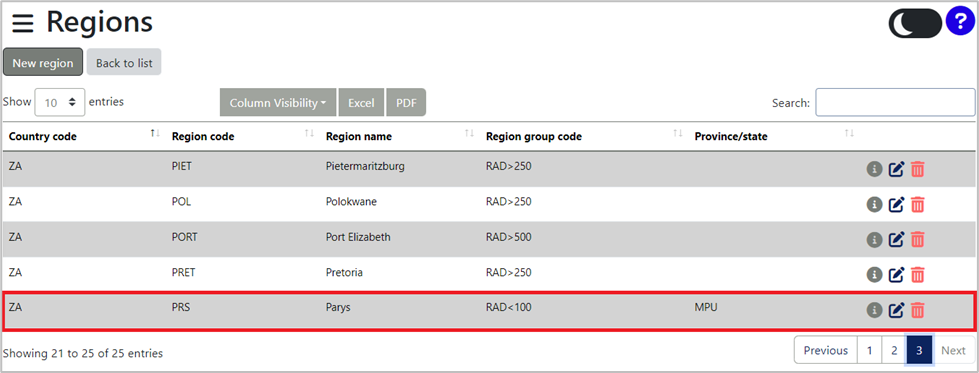
To add Regions, click the 'Regions' button. A new regions screen will be displayed:
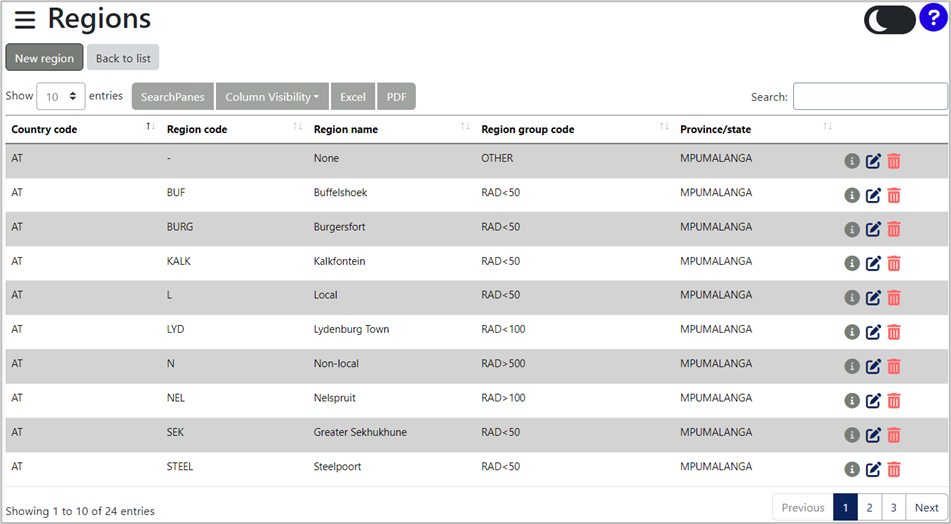
All Regions will be displayed in the grid. You can delete a region by selecting the ![]() icon, or edit it by clicking the
icon, or edit it by clicking the ![]() icon.
icon.
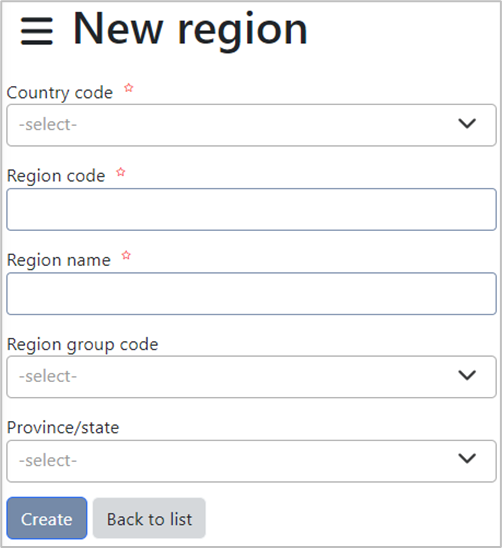
To add a new region to the system, click the 'New region' button. A new region screen will be displayed:

Complete the fields. Fields marked with an asterisk (*) are compulsory.
Complete the Region Code and Region Name fields manually. Select the Country Code, Region Group Code and Province/State from the dropdown menu.
Once the fields have been completed, click the 'Create' button. A pop-up message will be displayed, confirming that the region has been saved successfully.

You will be returned to the Regions page, where the newly added region will now be displayed in the Regions grid.
Click the 'Back to list' button to return to the Systems Masters screen.
REPORT GROUPS:
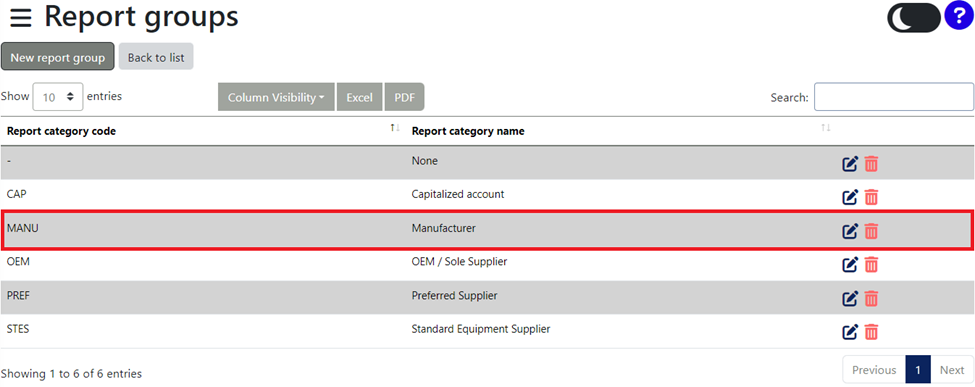
To add Report Groups, click the 'Report groups' button. A new reports group screen will be displayed:
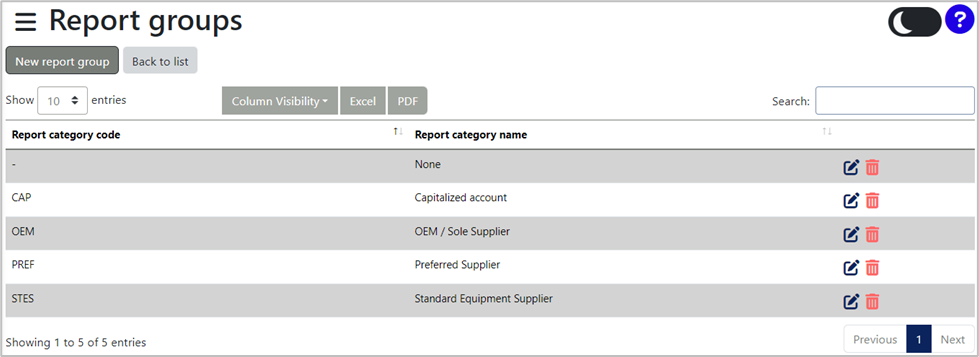
All Report Groups will be displayed in the grid. You can delete a report group by selecting the ![]() icon, or edit it by clicking the
icon, or edit it by clicking the ![]() icon.
icon.
The list of report groups can be exported to MS Excel or PDF format by clicking the corresponding button.
To add a new report group to the system, click the 'New report group' button. A new screen will be displayed:
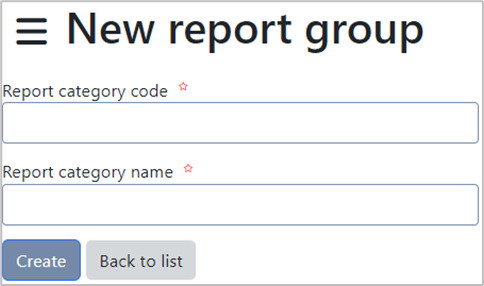
Complete the fields. Fields marked with an asterisk (*) are compulsory.
Complete the Report Category Code and Report Category Name fields manually.
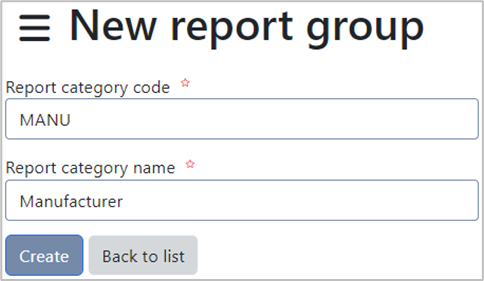
Once the fields have been completed, click the 'Create' button. A pop-up message will be displayed, confirming that the report group has been saved successfully.

You will be returned to the Report Groups page, where the newly added report group will now be displayed in the Report Groups grid.
Click the 'Back to list' button to return to the Systems Masters screen.
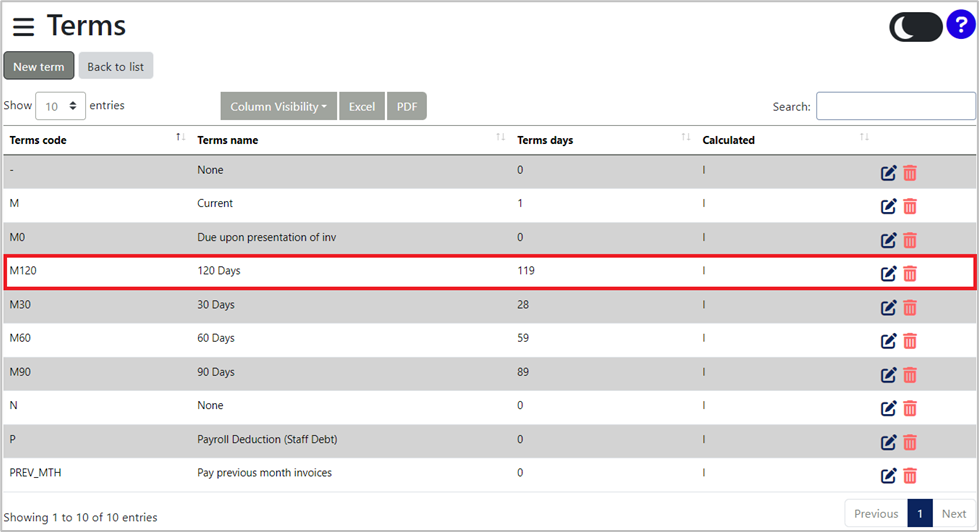
TERMS:
To add Terms, click the 'Terms' button. A new terms screen will be displayed:
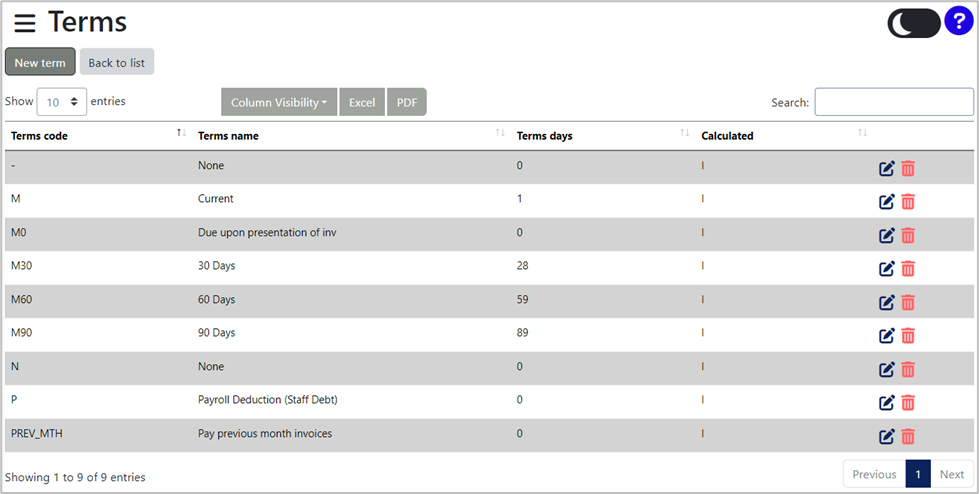
All Terms will be displayed in the grid. You can delete a term by selecting the ![]() icon, or edit it by clicking the
icon, or edit it by clicking the ![]() icon.
icon.
The list of terms can be exported to MS Excel or PDF format by clicking the corresponding button.
To add a new term to the system, click the 'New term' button. A new term screen will be displayed:

Complete the fields. Fields marked with an asterisk (*) are compulsory.
Complete the Terms Code, Terms Name and Calculated fields manually. Enter the Terms Days manually, or adjust it using the up and down arrows.
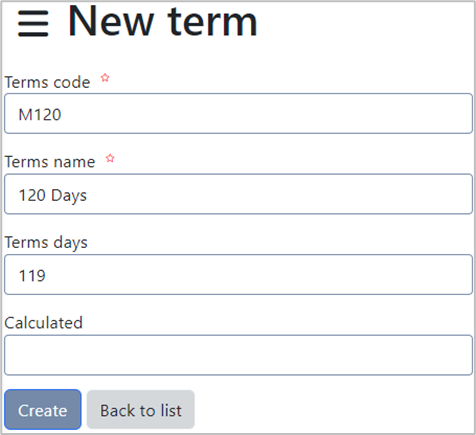
Once the fields have been completed, click the 'Create' button. A pop-up message will be displayed, confirming that the term has been saved successfully.

You will be returned to the Terms page, where the newly added term will now be displayed in the Terms grid.
Click the 'Back to list' button to return to the Systems Masters screen.
TRANSACTION TYPES:
To add Transaction Types, click the 'Transaction types' button. A new transaction types screen will be displayed:
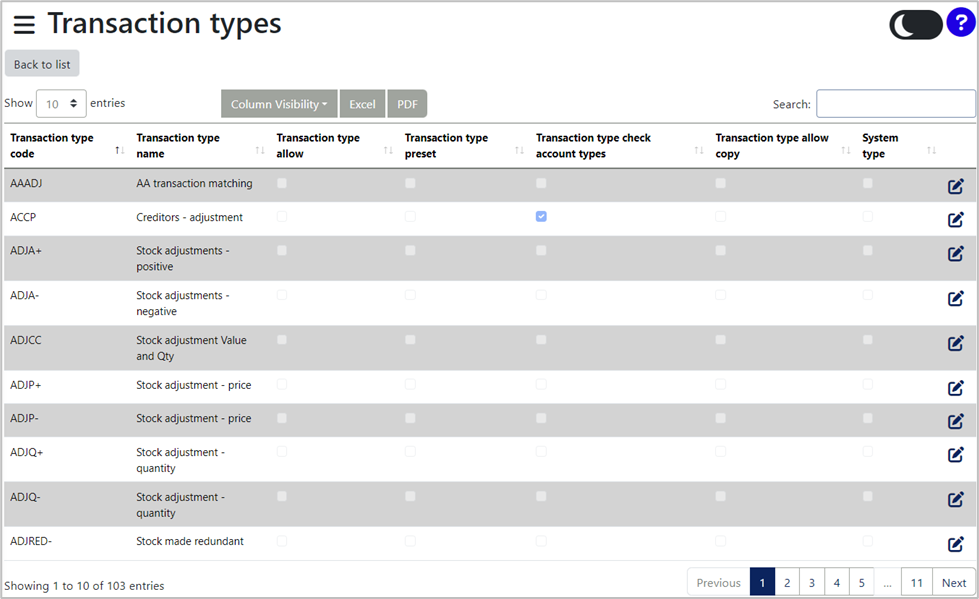
All Transaction Types will be displayed in the grid. You can delete a transaction type by selecting the ![]() icon, or edit it by clicking the
icon, or edit it by clicking the ![]() icon.
icon.
The list of transaction types can be exported to MS Excel or PDF format by clicking the corresponding button.
Click the 'Back to list' button to return to the Systems Masters screen.