Overview
This application allows the user to create and maintain stock take sets. Count sheets can also be generated and printed from this application.
Functionality is available when a Stock Take has been activated, certain transactions against items included in that stock take will be disabled. This functionality is parameter driven.
Navigation Path
Inventory Management → Warehousing → Stock Take → Stock Take Generation
Function
Once opened, you will view the Stock Take Generation screen:

Select the 'New Stock Take Generation' button. The following generate new stock take screen will open:
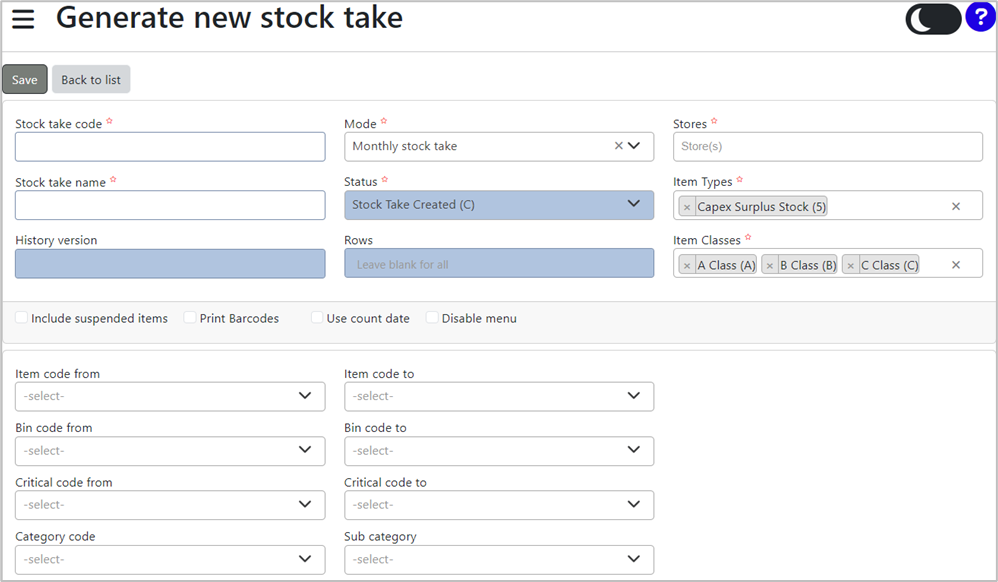
Complete the fields. Fields marked with an asterisk (*) are compulsory.
Insert stock take information into the top section, and item information in the bottom section.
Complete the fields manually, except for those with a dropdown menu. For these, click the dropdown menu and select the relevant information.
You can choose to 'Include Suspended Items,' 'Print Barcodes,' 'Use Count Date,' and 'Disable Menu' by ticking the corresponding checkboxes.
![]()
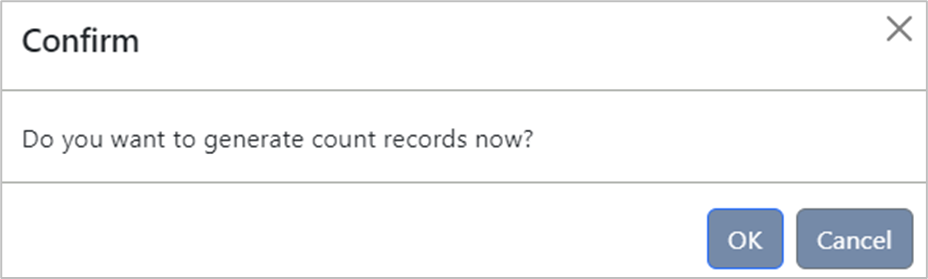
Once all fields have been completed, select the 'Save' button.
A pop-up message will be displayed, asking you to confirm if you want to generate count records now.
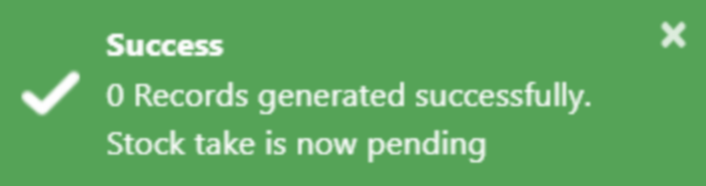
Selecting 'OK' will return you to the Stock Take Generation screen, where a confirmation message will pop-up, indicating that the records have been generated successfully and that the stock take is now pending:
The new Stock Take Generation will now be listed as shown below:
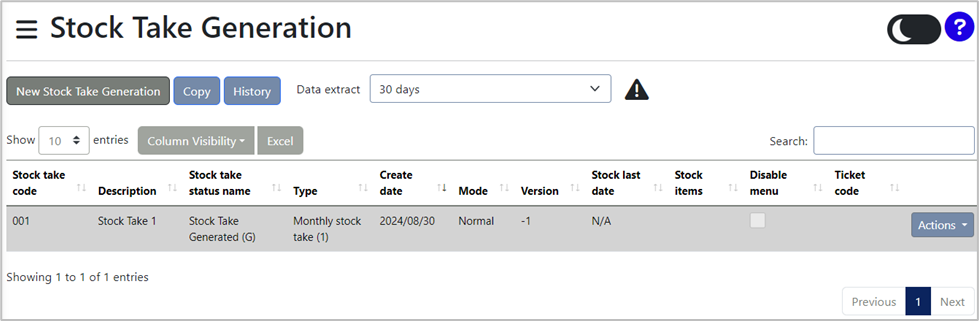
The stock take generation can be edited, deleted, printed, and viewed by selecting the 'Actions' button. To add attachments, select 'View Attachments.'
By selecting the 'Column Visibility' button, you can hide specific details from the line when viewing it. For example, if you deselect 'Stock Take Code,' the line will be displayed without the stock take code.
The list of stock take generations can be exported into MS Excel by selecting the 'Excel' button.
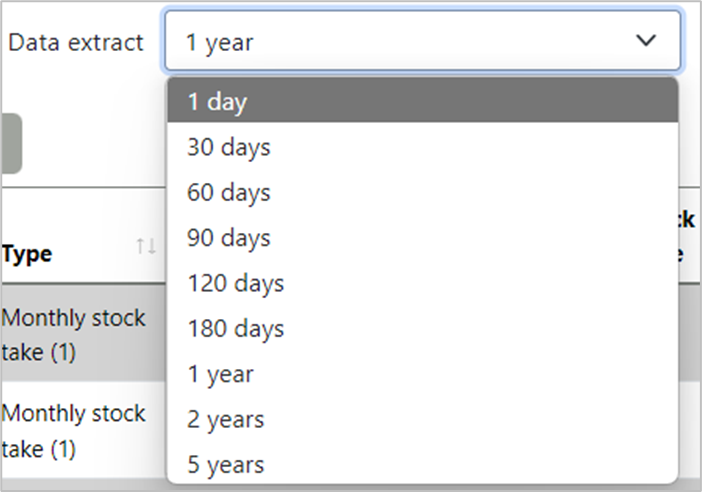
The search criteria can be filtered by selecting the dropdown button ![]() next to 'Data Extract,' allowing you to specify a time range. You can filter by days and years.
next to 'Data Extract,' allowing you to specify a time range. You can filter by days and years.
Previously generated stock take generations can be copied by selecting the 'Copy' button. A screen will be displayed to create a copy stock take:
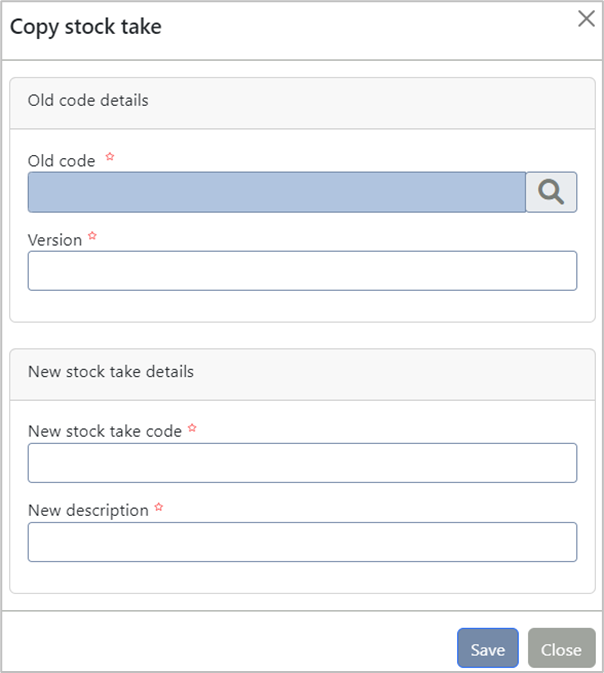
Enter the previous stock take information in the top section and the new stock details in the bottom section.
Select the magnifying glass icon ![]() next to 'Old Code' to find the relevant stock take details.
next to 'Old Code' to find the relevant stock take details.
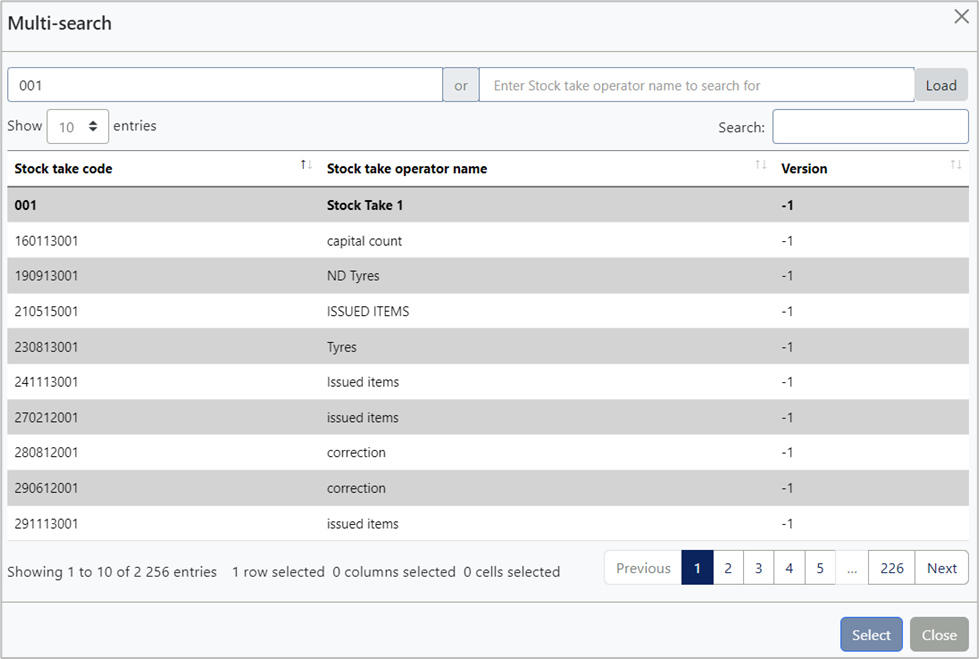
The following screen will be displayed:

Enter the stock take code or stock take operator name, and then select the 'Load' button.
A list of stock takes will be displayed. Select the relevant one and click the 'Select' button.
Select the applicable version and enter the new stock take details:

Select the 'Save' button once the fields have been completed.
The copied stock take details will now be listed on the Stock Take Generation screen:

Stock take history can be viewed by selecting the 'History' button.