Overview
This web application allows you to capture a gate pass. The gate pass can be for a once only pass, for a time period or for a contractor. The gate pass can be printed out. Existing gate passes can be copied to create new ones. Workflow options can be applied for this module.
Typical Users
Stores Clerks
Risk Factors
None
Function
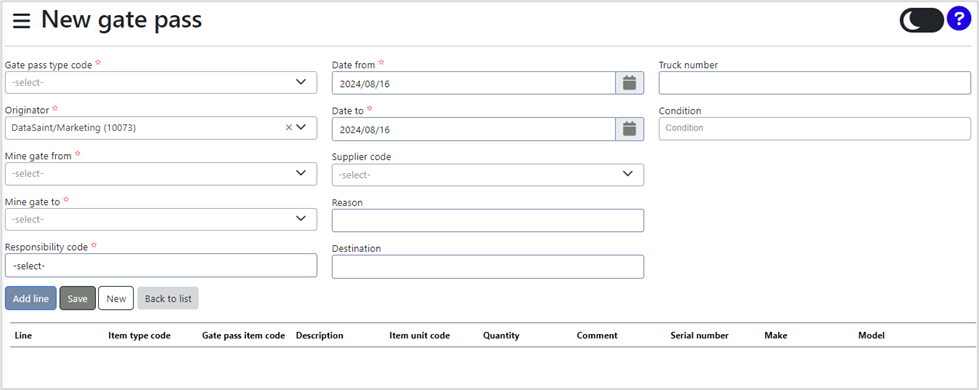
Once opened you will view the following screen:

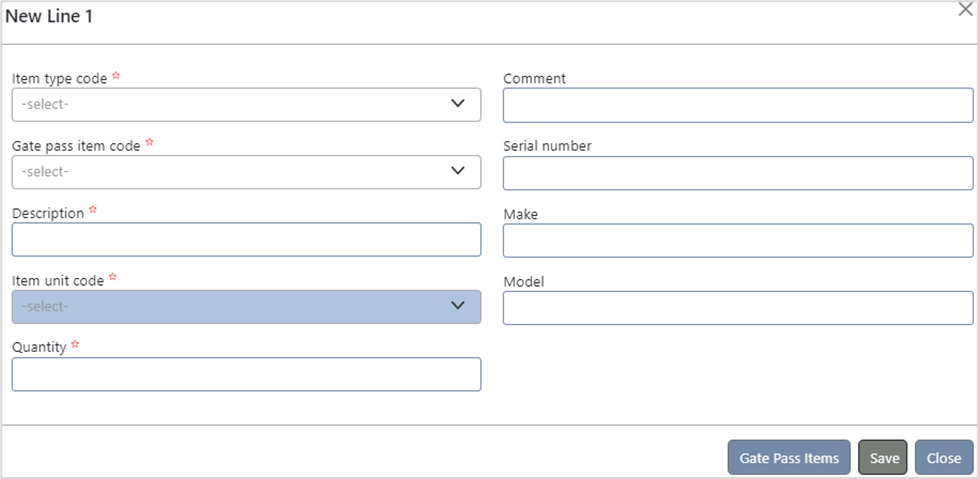
Select the ![]() button. The following screen will be displayed:
button. The following screen will be displayed:
Complete the fields. Fields marked with an asterisk (*) are compulsory.
Selecting the ![]() button, will open a window to provide more information on the item type and description:
button, will open a window to provide more information on the item type and description:
Complete the fields. Fields marked with an asterisk (*) are compulsory.
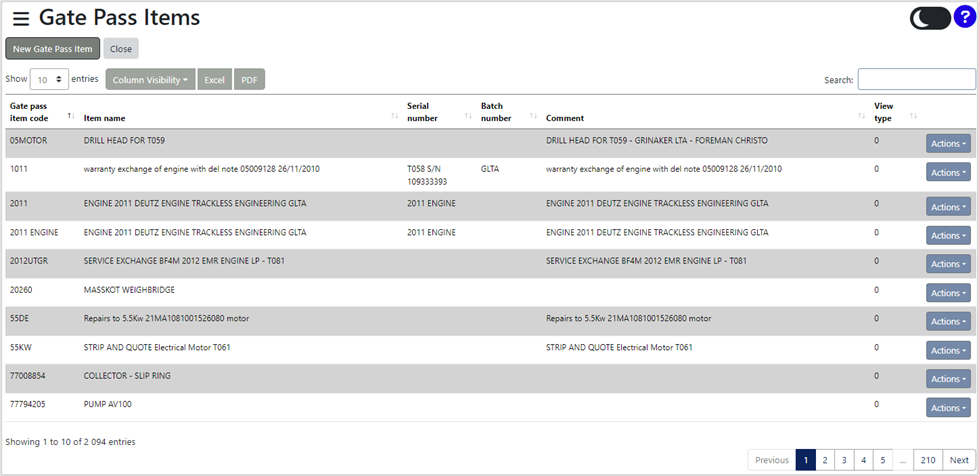
Selecting the ![]() button, will open a new tab with a list of gate pass items:
button, will open a new tab with a list of gate pass items:
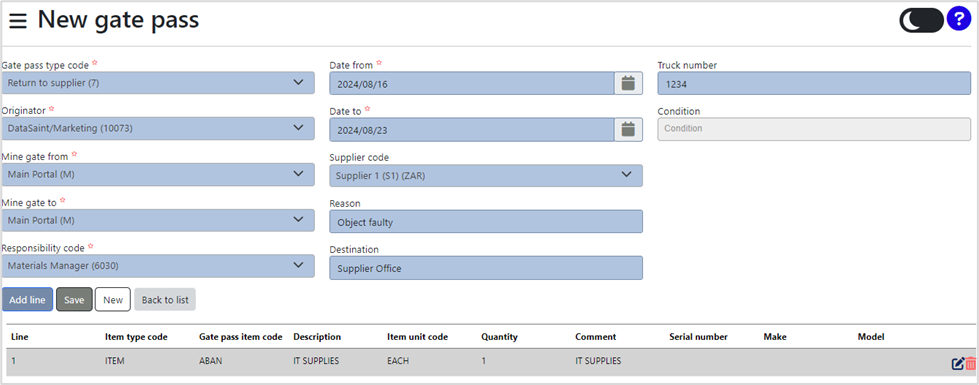
Selecting the ![]() button, will add a line with the newly created item to the New Gate Pass page:
button, will add a line with the newly created item to the New Gate Pass page:
You can edit ![]() or remove
or remove ![]() the line by clicking on the appropriate icon on the right-hand side of the item line.
the line by clicking on the appropriate icon on the right-hand side of the item line.
You can add more lines by selecting the ![]() button.
button.
Selecting the ![]() button will clear all completed fields.
button will clear all completed fields.
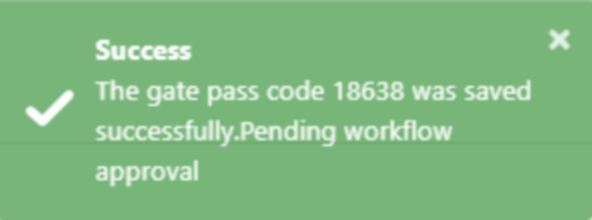
Select the ![]() button, will save the new gate pass and prompt the following message:
button, will save the new gate pass and prompt the following message:
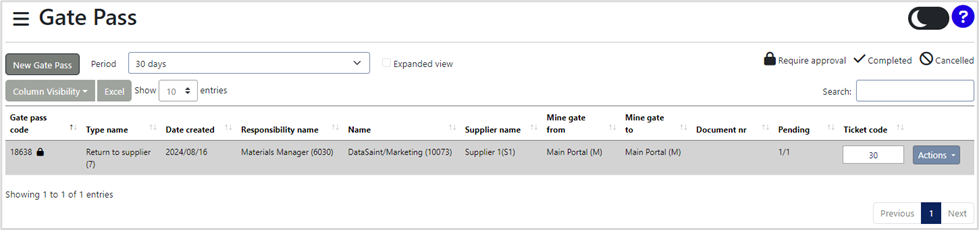
The Gate Pass screen will now include the new gate pass:
To copy, cancel or view details on the gate pass code, select the ![]() button.
button.
Selecting “View Attachments” under ![]() , will open a new tab which takes you to the Doc Vault.
, will open a new tab which takes you to the Doc Vault.
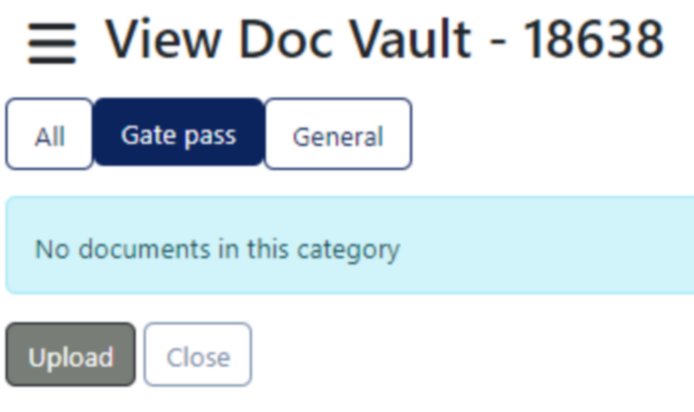
Here you can add attachments by selecting ![]() .
.
On the Gate Pass page, view the list of gate passes by filtering the days in the dropdown menu next to 'Period.'

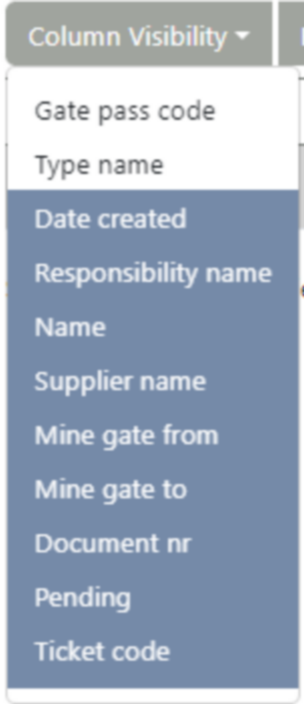
The list of gate passes can be filtered by selecting the ![]() , and selecting from the dropdown menu:
, and selecting from the dropdown menu:
Selecting the checkbox next to ![]() will expand the list of gate passes to provide more information on each item:
will expand the list of gate passes to provide more information on each item:

The list of gate passes can be exported to MS Excel by selecting the ![]() button.
button.